BehPunktDesign
Beh.Stitched

How the work goes

Three ways lead to a finished embroidery file. Here you see each of them step by step, with pictures from the running program.

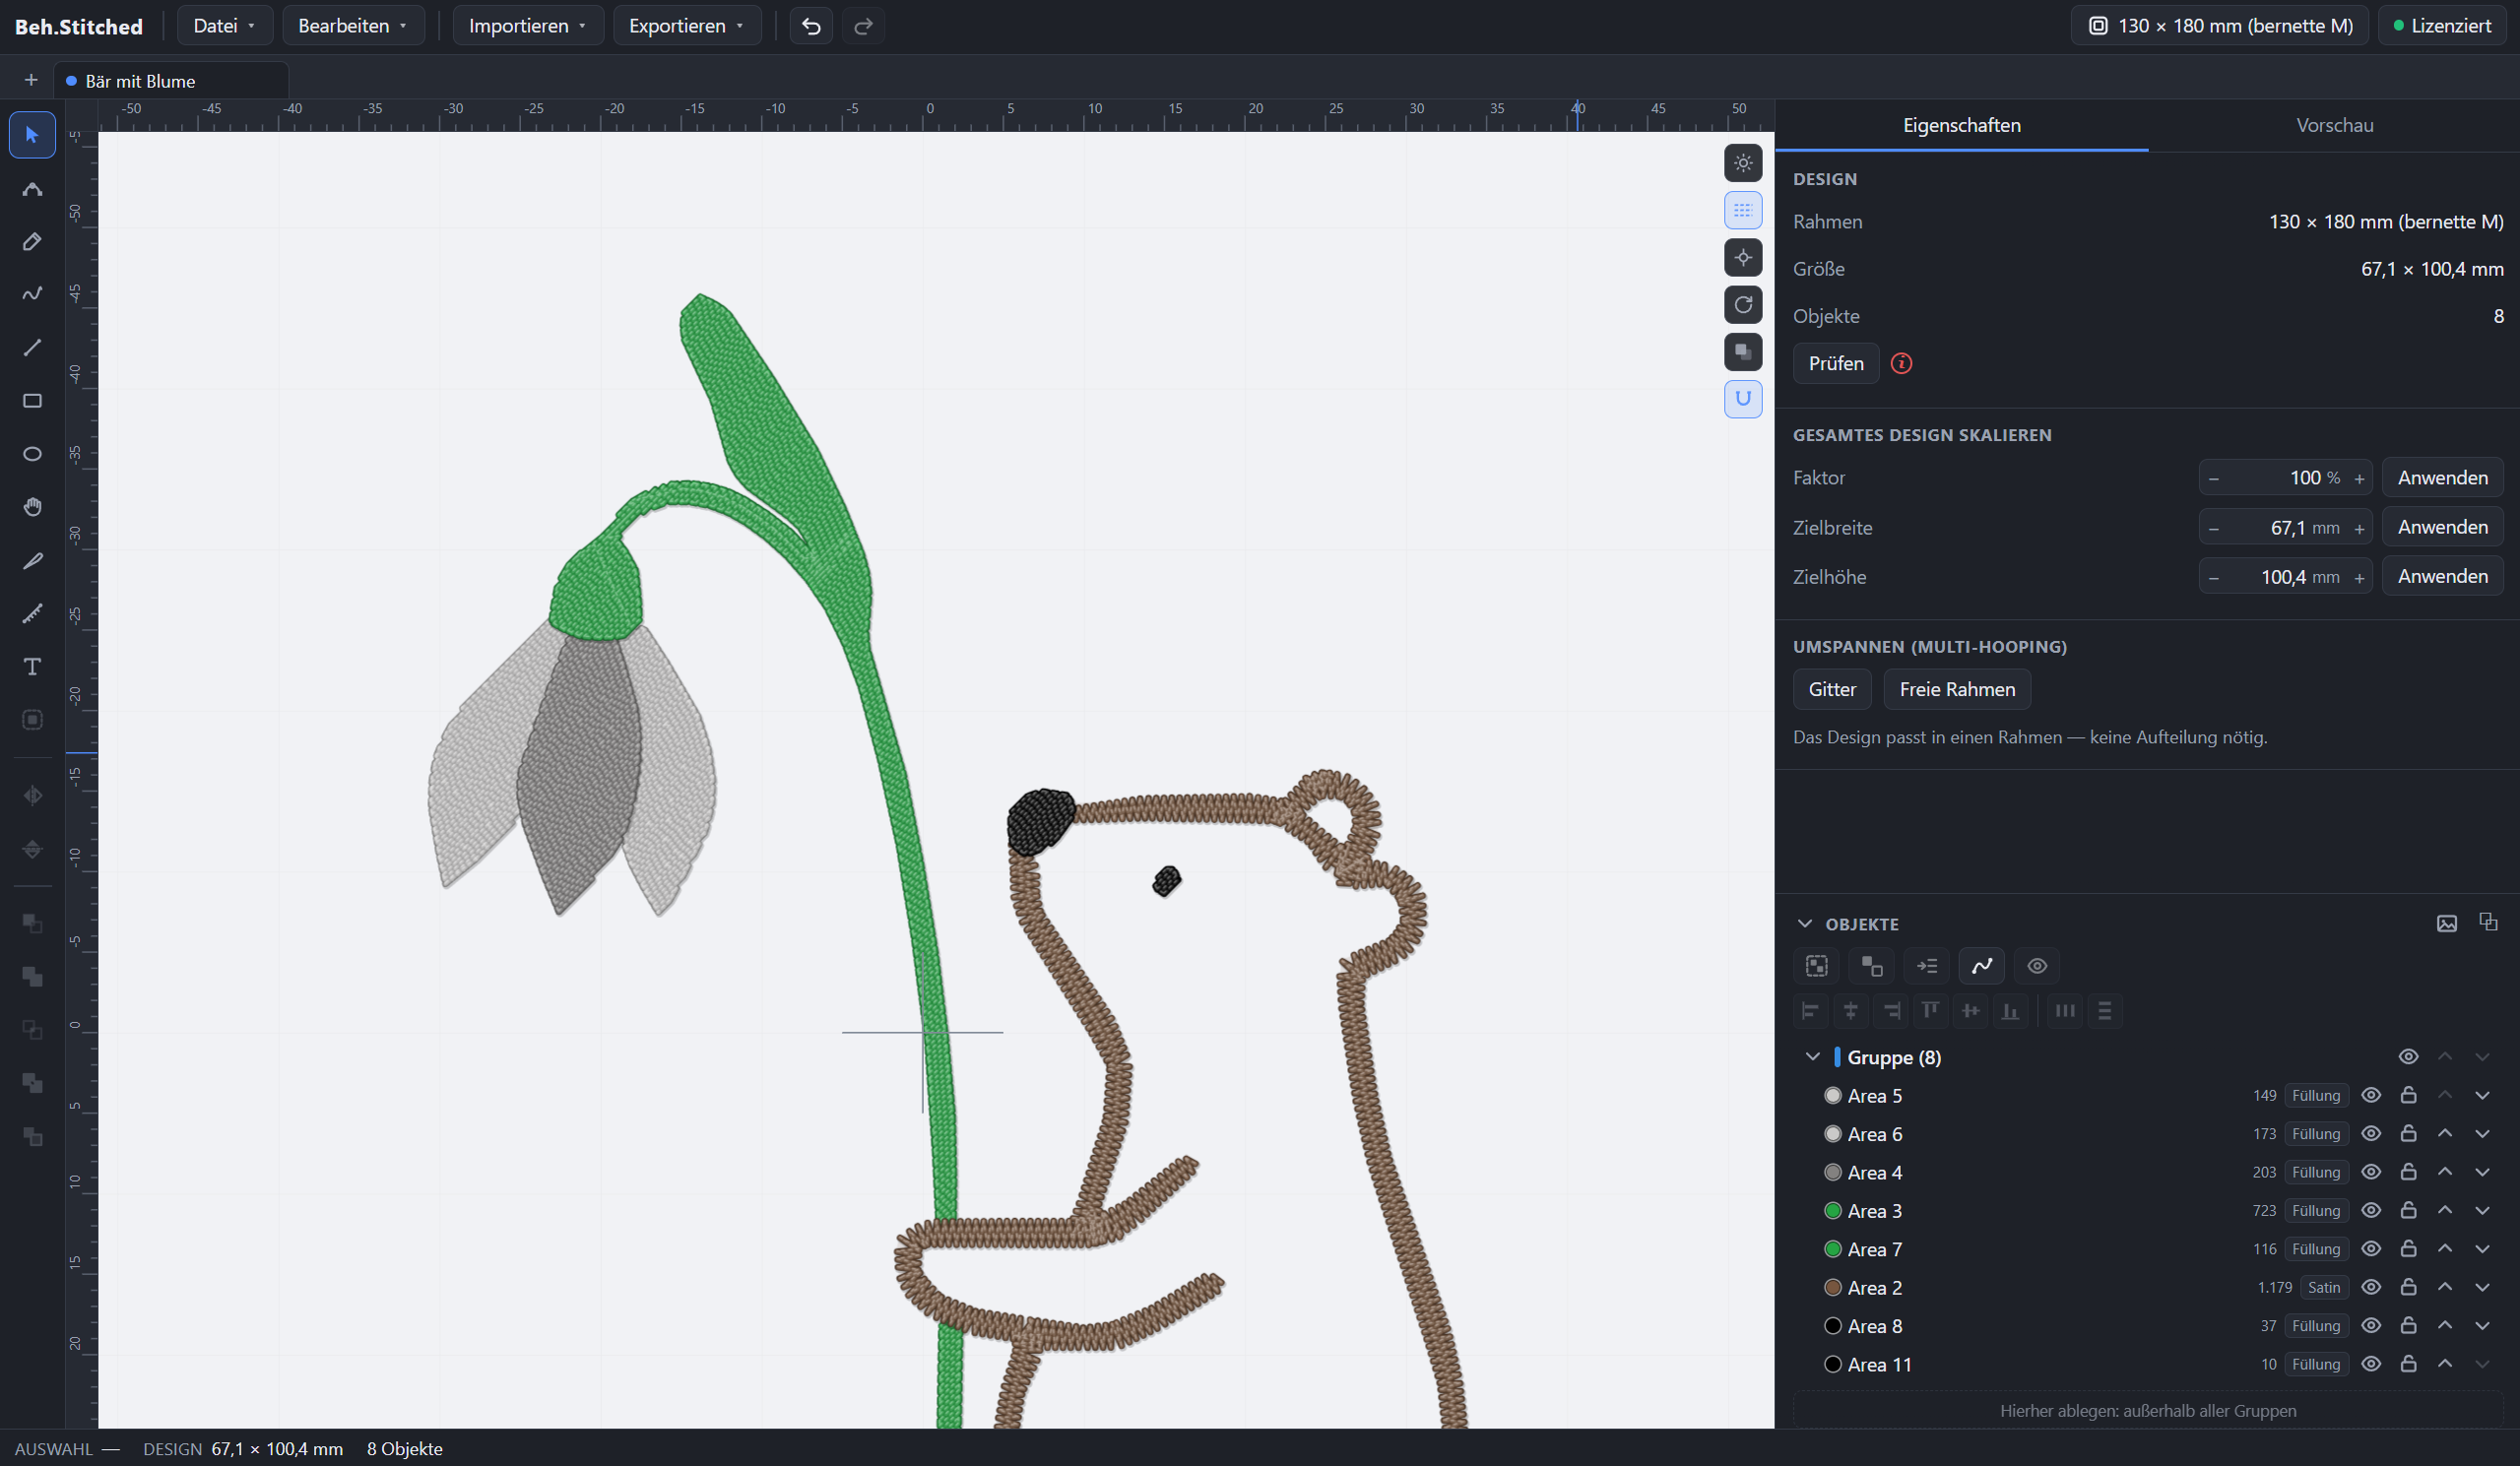
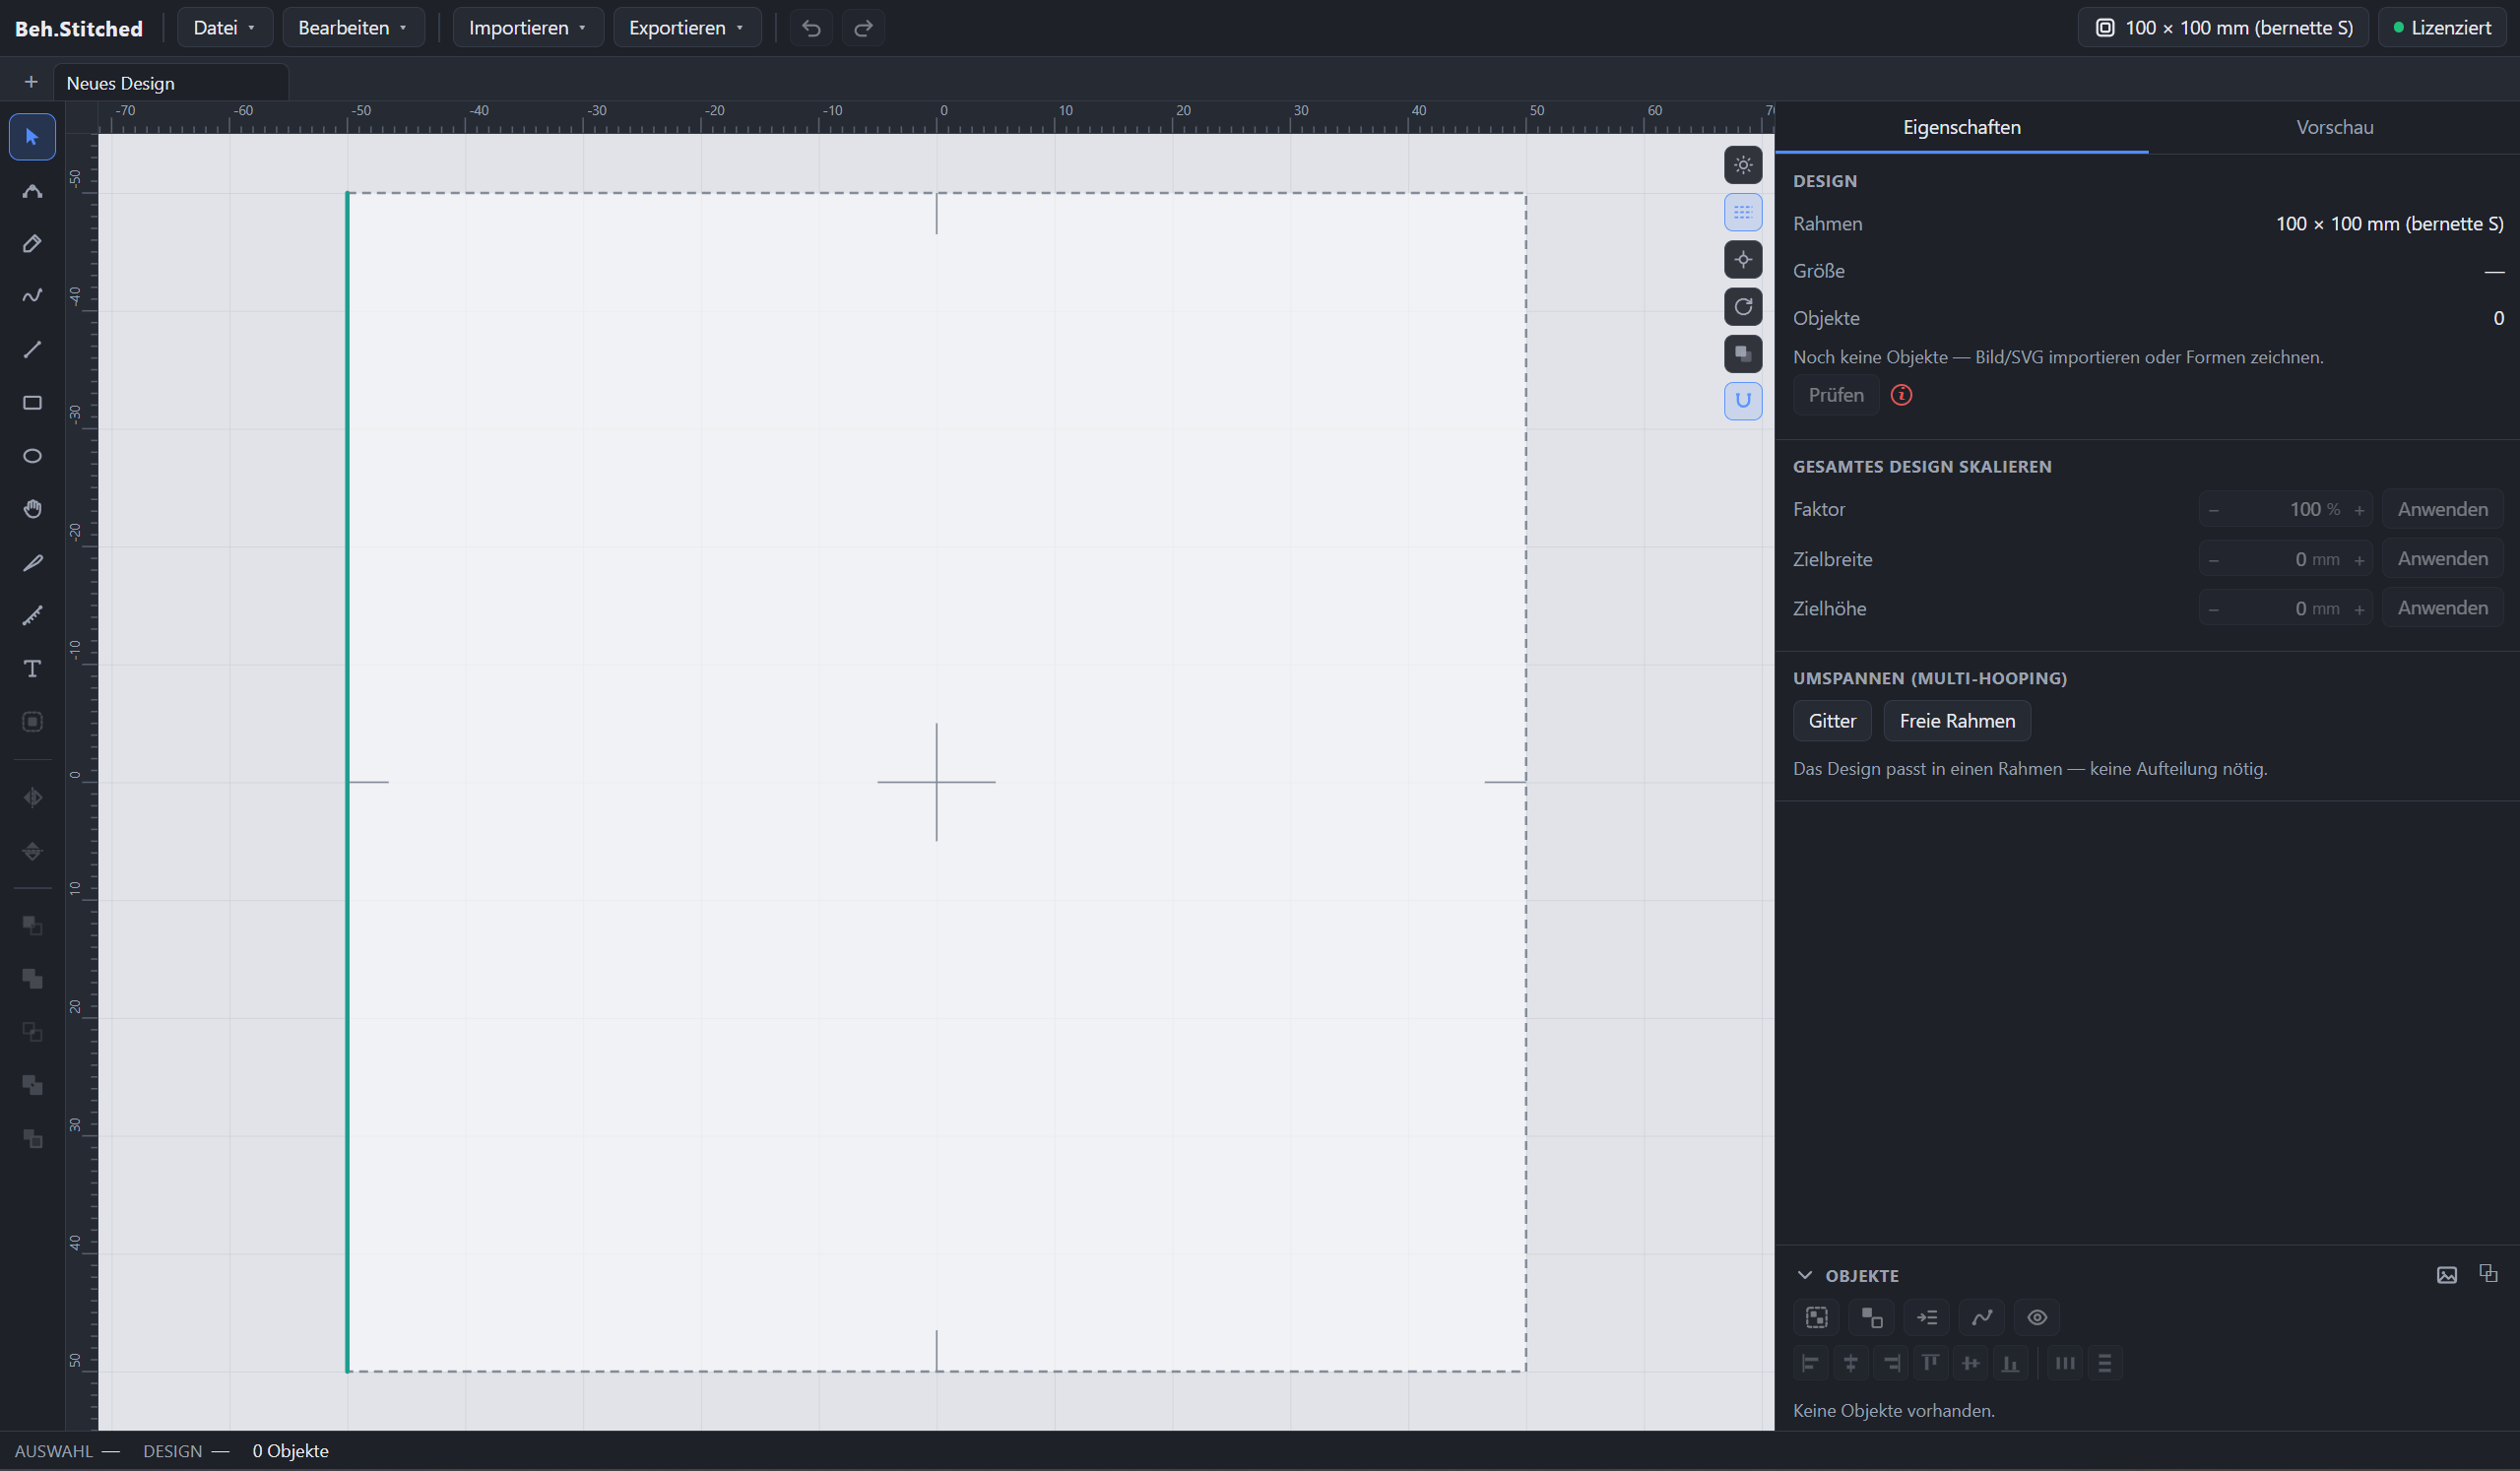
Beh.Stitched at start: tools on the left, the canvas with hoop and millimetre rulers in the middle, settings on the right.

Three ways to a finished embroidery file

Option 1: Automatic digitizer

  1. Import your image or vector file and use the automatic digitizer
  2. Set the target size
  3. Choose how many colours you need
  4. Set the other parameters: minimum area, how much to simplify, how much to smooth
  5. Check the preview, adjust, then start the conversion
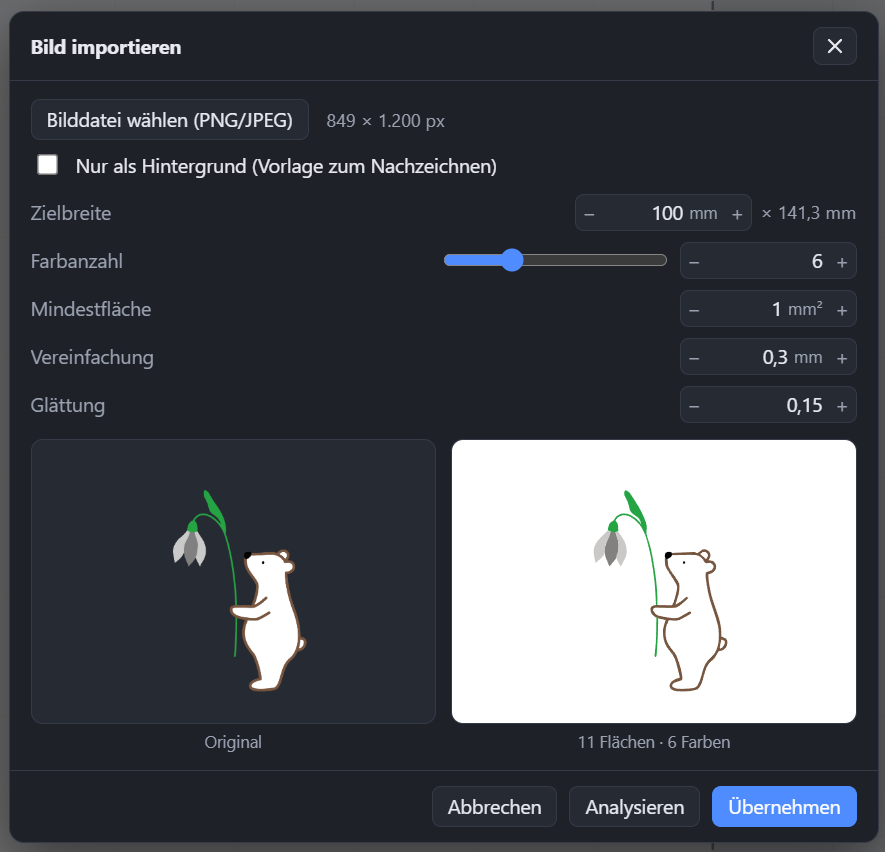
Importing an image, with the settings: original on the left, detected areas on the right.

Fine-tuning the embroidery file

  1. Pick stitch type and density per area
  2. Add appliqué where you need it
  3. Adjust colours
  4. Set the sewing order
  5. Export the finished embroidery file
Editor: stitch types, stitch angle and the object list, each area set on its own.

Option 2: Draw paths and shapes yourself

  1. Import an image as a reference if you need one
  2. Build the design with the vector tools
  3. Export the finished embroidery file
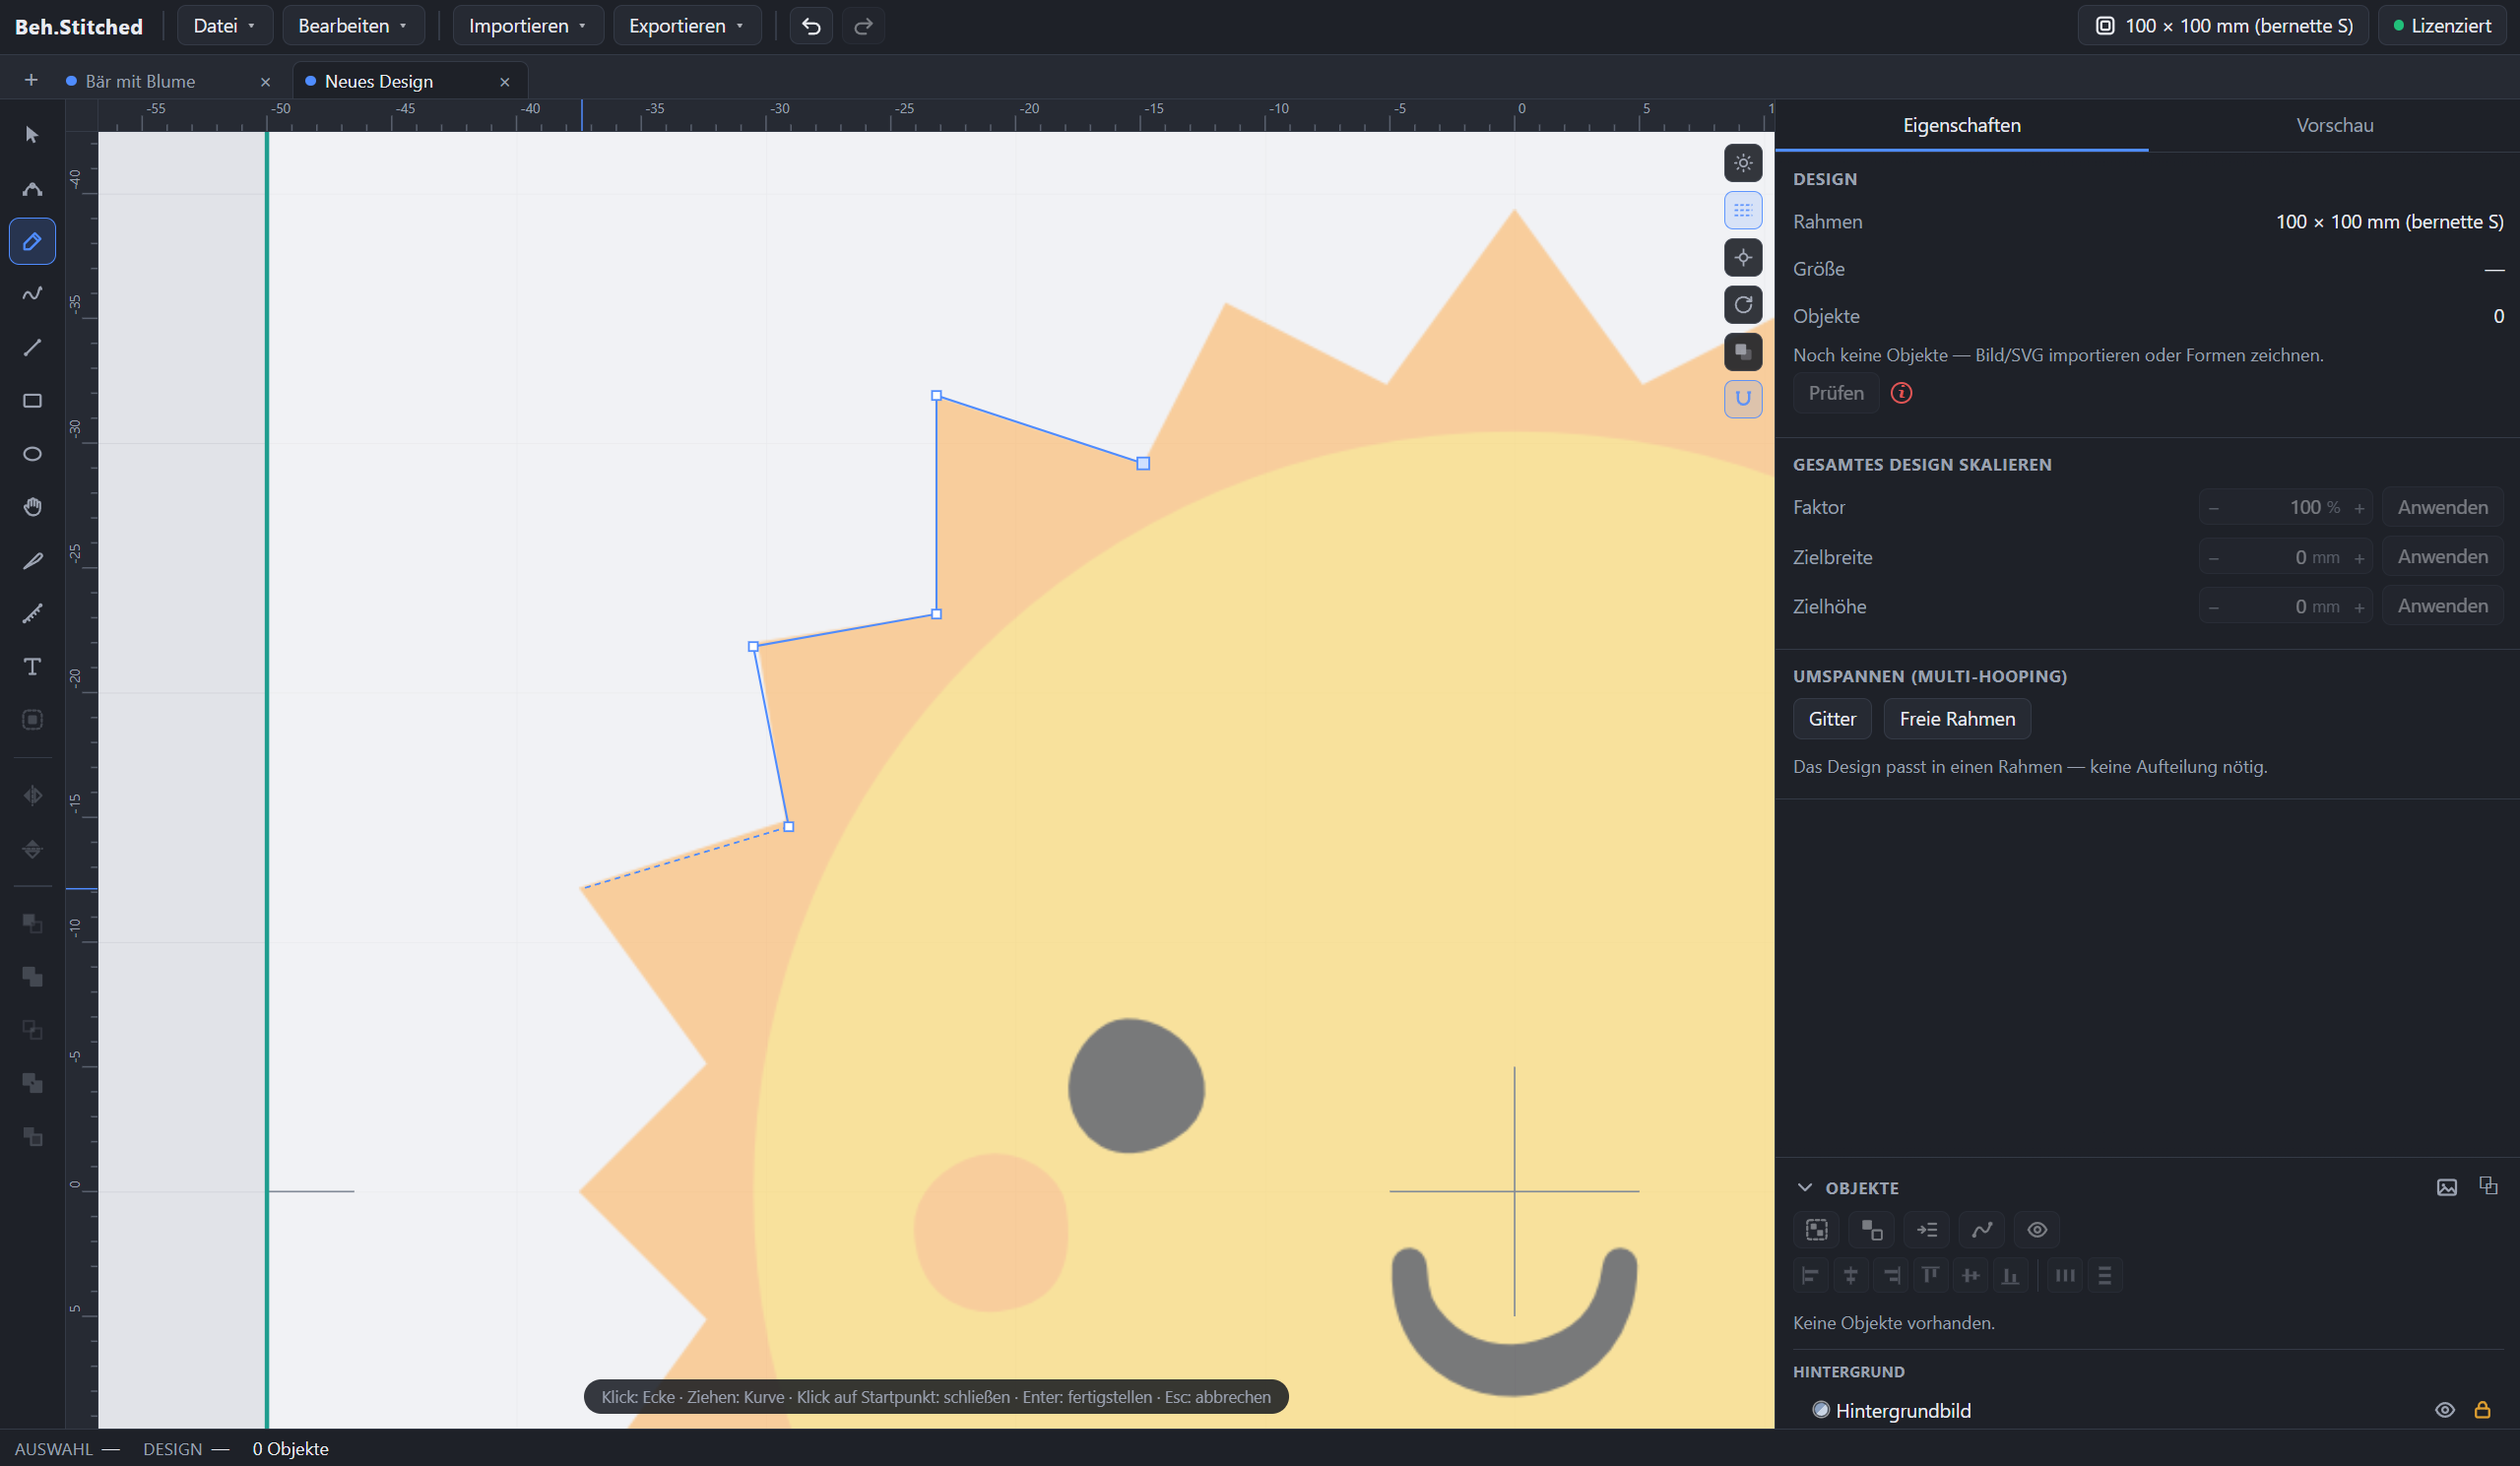
The vector tool tracing a reference image.

Option 3: Embroidery-file editor

  1. Import a finished embroidery file and edit it directly
  2. Tidy it up: change colours, cut colour changes, reorder sewing
  3. Delete objects and replace them with your own, or remove individual stitches
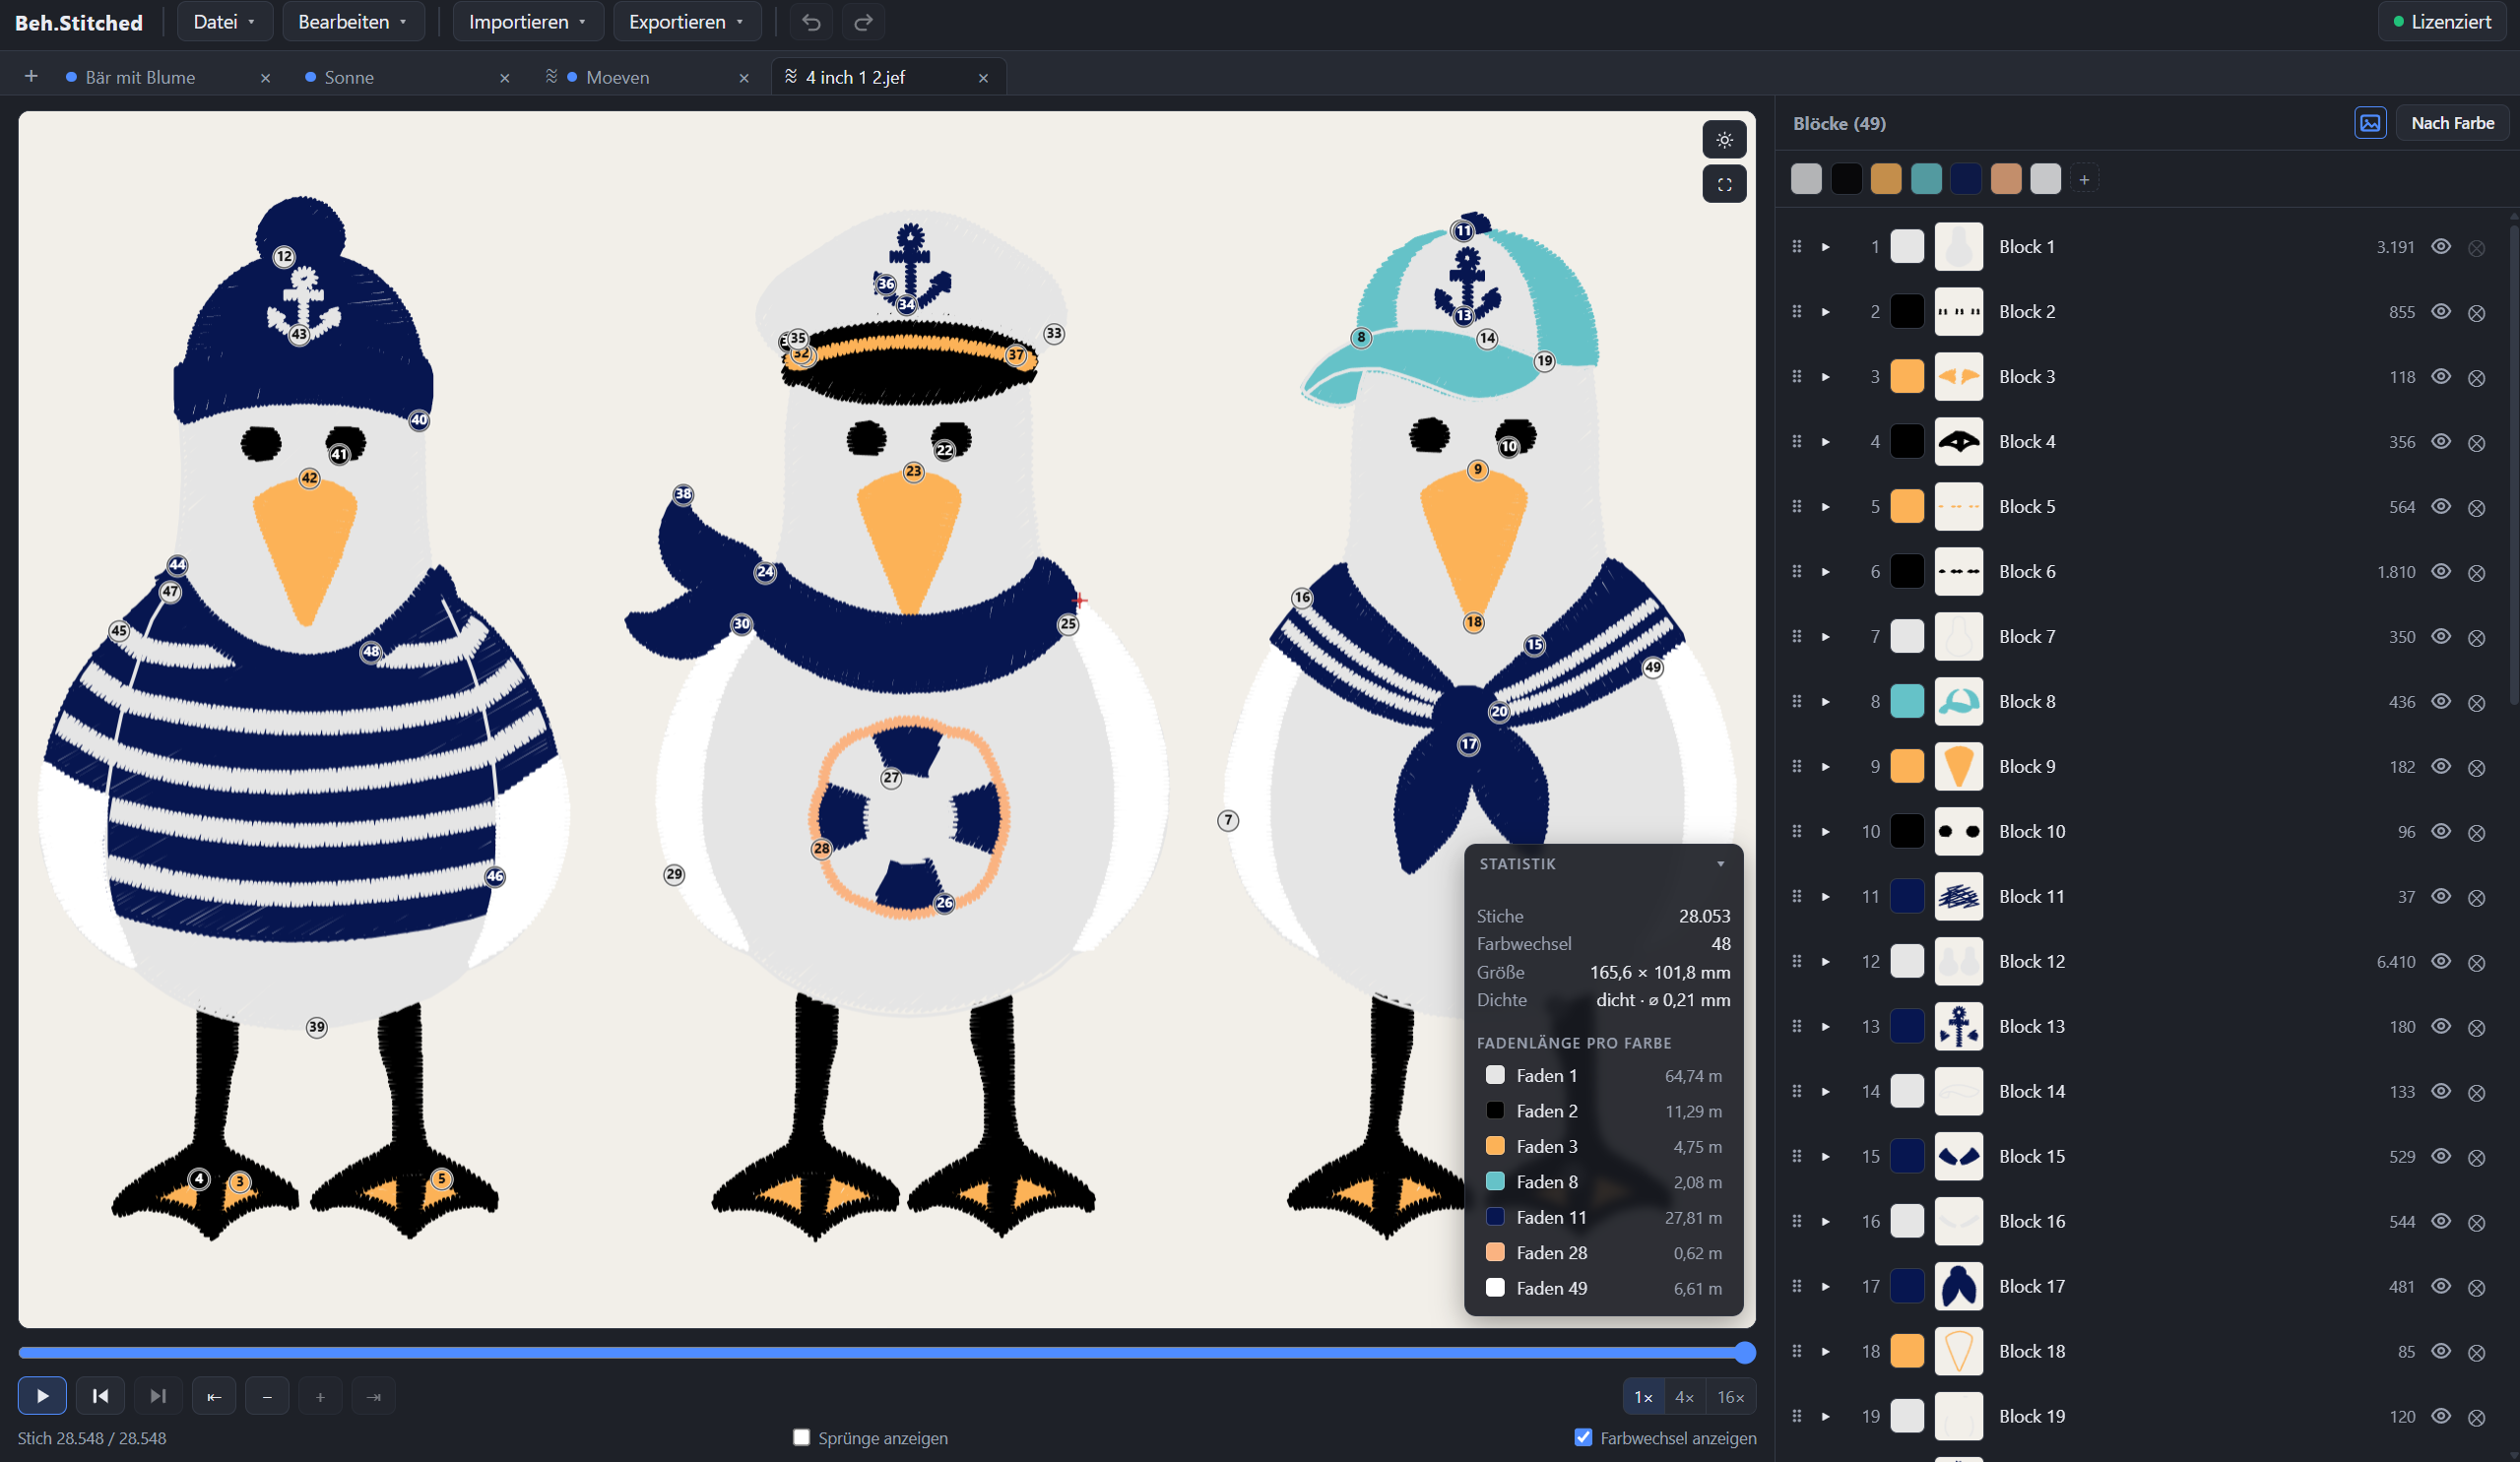
A bought embroidery file as it arrives: 49 blocks, 48 colour changes, so 48 stops at the machine. Sample design from Creative Fabrica, used under a valid licence.

Add your own objects

  1. Delete objects and replace them with your own
  2. Add your own shapes or lettering
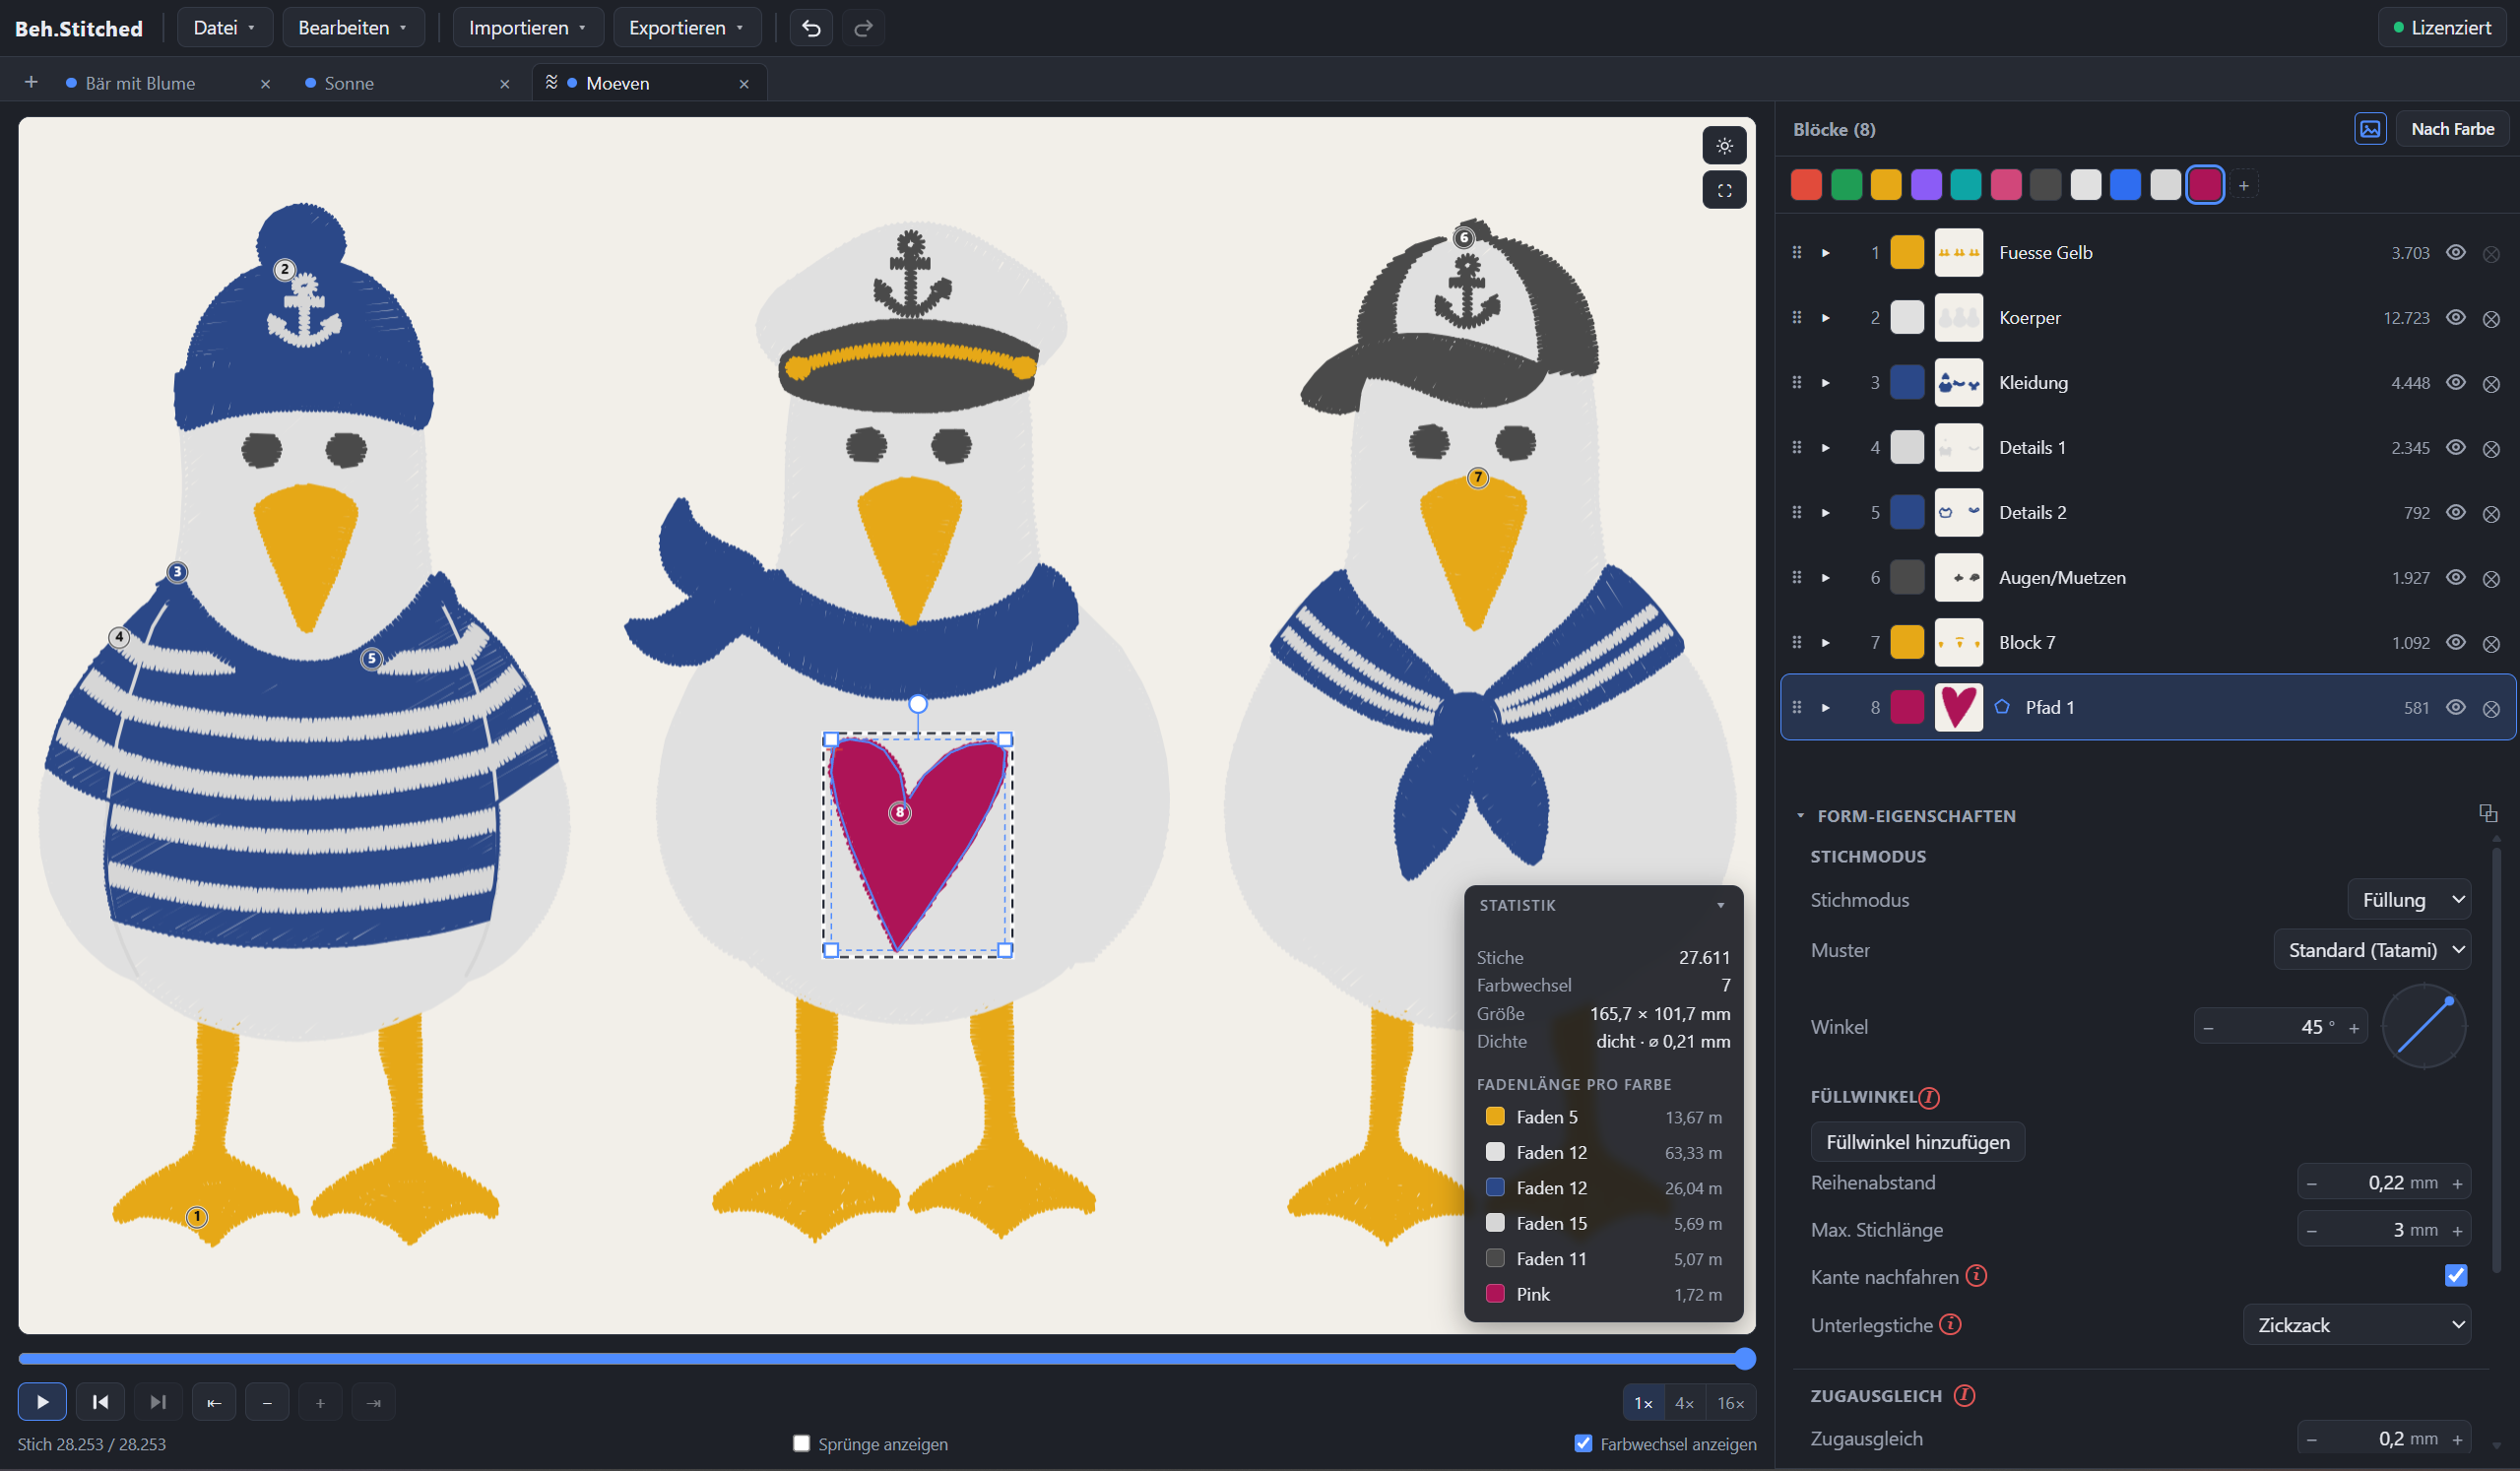
The same file after reordering: 8 blocks, 7 colour changes, and a design of your own has been added. Sample design from Creative Fabrica, used under a valid licence.

When you get stuck

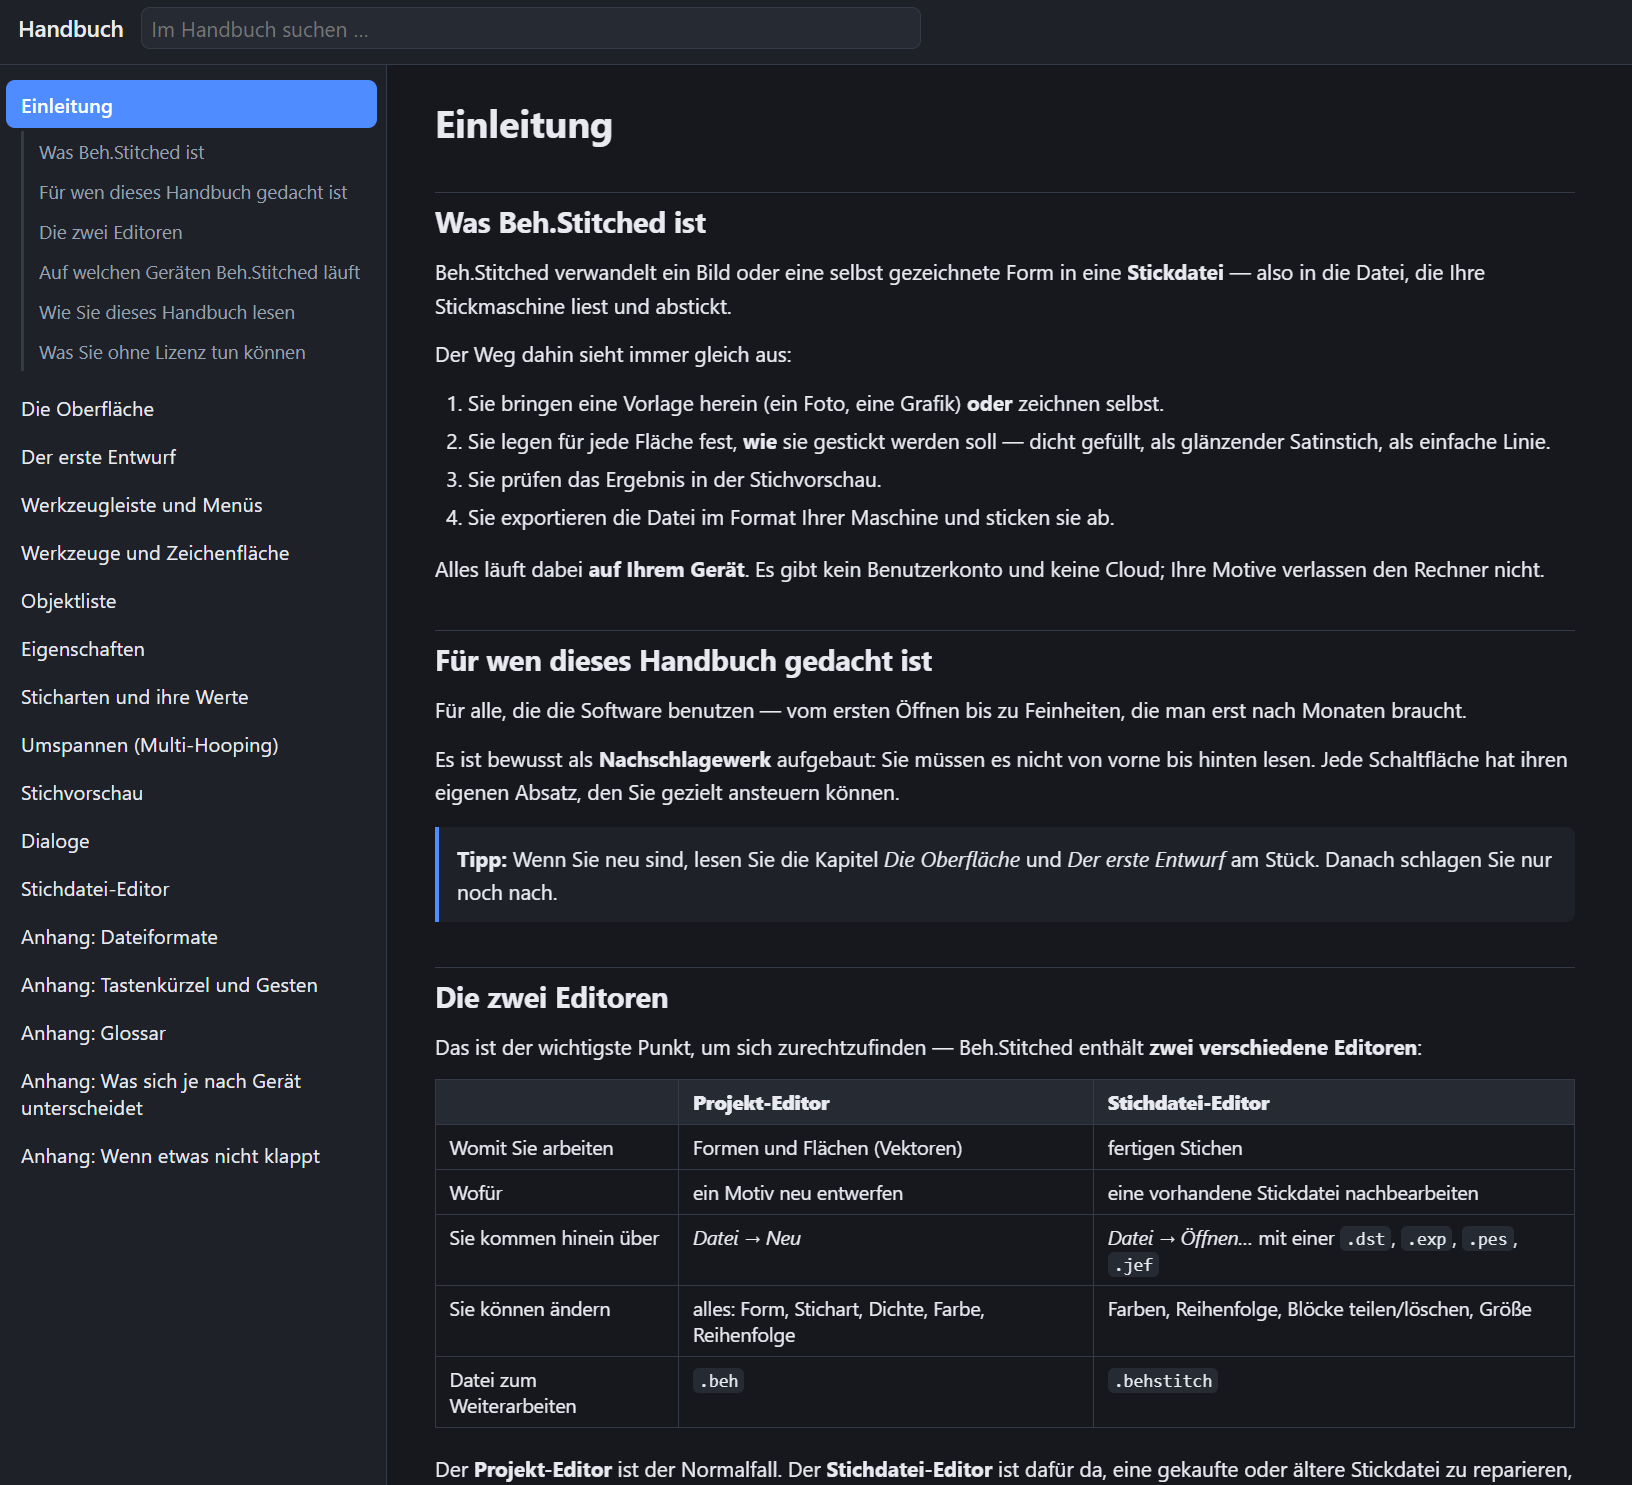
The manual lives in the program, not in a PDF you have to hunt for. It is searchable and built as a reference: a paragraph per control, chapters for both editors, plus appendices on file formats, keyboard shortcuts and gestures, a glossary, and what differs on iPad, Mac and Windows. If you are new, you read two chapters in one sitting. After that you only look things up.

The built-in manual: table of contents on the left, search at the top, text on the right.